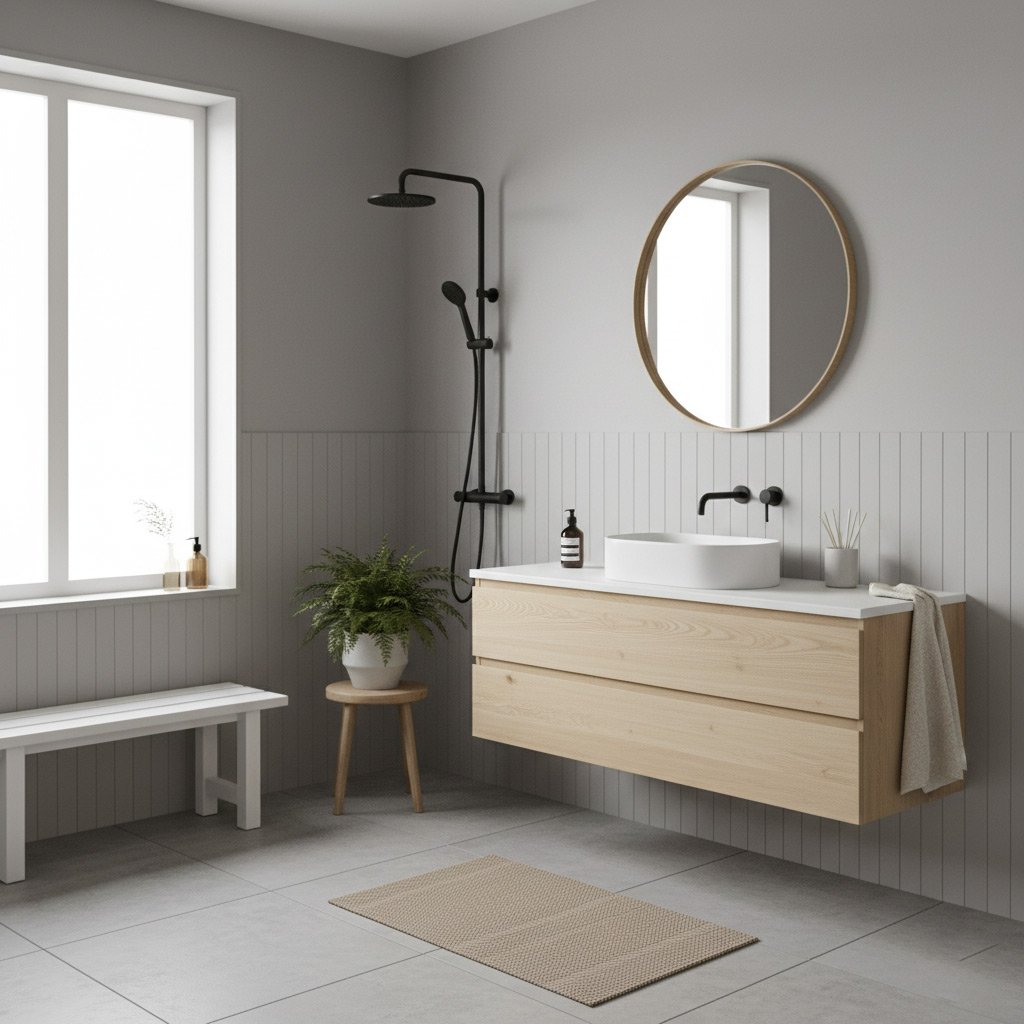
Imagine this: you've finally invested in those sleek, low-maintenance acrylic bath walls for your Yuma home. They look fantastic initially, a real game-changer for your bathroom's style and upkeep. But then, a few months down the line, a subtle ripple appears.
Suddenly, that perfect, smooth surface isn't so perfect anymore. Before you know it, you’re staring at a growing crack or a stubborn blister that makes your new bathroom look… well, less than new. These aren’t just cosmetic issues; they’re often glaring signs of a botched install that can cost you big bucks to fix later.
Don't let a bad job turn your dream bathroom into a headache. Knowing what to look for can save you a world of trouble and ensure your acrylic bath walls stand the test of time. Let's dig into the tell-tale signs that scream "poor installation" before they turn into major problems.
1. The Subtleties of Subpar Surface Prep: Foundation for Failure
Think of your Yuma home's bathroom walls like a canvas. Before any masterpiece can be painted, that canvas needs to be clean, dry, and perfectly primed. The same goes for your acrylic bath walls. If the existing walls aren't properly prepared, even the most expensive acrylic panels are doomed from the start.
A common mistake we see is installers skipping crucial steps in pursuit of a faster job. This isn't just about speed; it's about cutting corners that directly impact the longevity of your new bathroom. Here's what to watch out for:
The "Invisible" Enemies: Moisture and Debris
- Lingering moisture: If the substrate, usually green board or cement board, isn't completely dry, it's a breeding ground for mold and mildew behind your new acrylic. This can compromise the adhesive bond and lead to unpleasant surprises later.
- Dust and debris: Any dust, dirt, or construction debris left on the wall acts as a barrier, preventing the adhesive from forming a strong, lasting bond. It’s like trying to stick a sticker onto a dusty surface – it just won't hold.
A truly professional install includes careful cleaning, sanding away any rough spots or old adhesive, and ensuring the surface is perfectly flat and free of contaminants. If your installer rushes through this vital stage, consider it a giant red flag. The finished product might look good for a moment, but beneath the surface, the foundation is already crumbling.
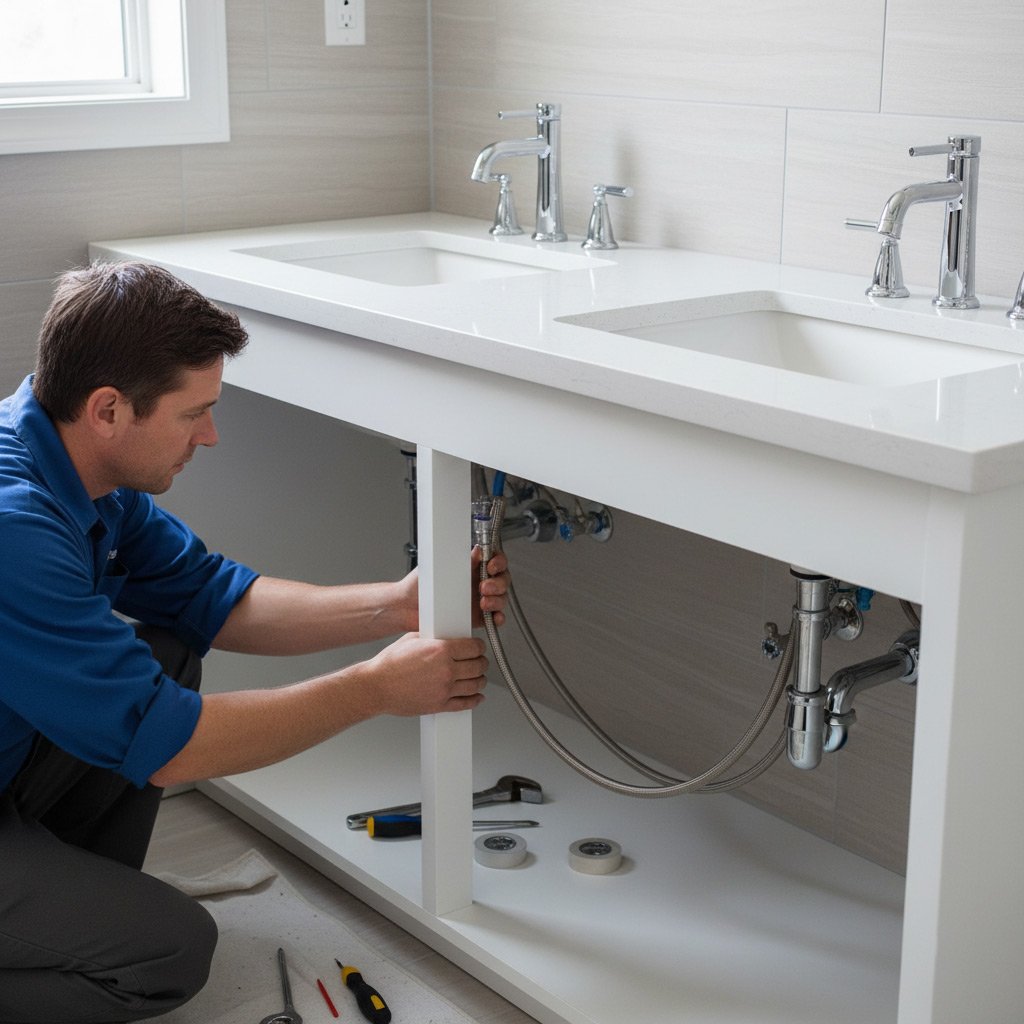
Adhesive Adversities: When the Glue Isn't True
Think of the adhesive as the unsung hero of your acrylic bath wall installation. When it fails, everything else goes with it. A common sign of bad adhesive work isn't always obvious at first glance; it often manifests as a slow, creeping detachment.
You might notice a subtle flexing when you press on the wall, especially in areas like corners or near fixtures. This "giving" sensation is a huge red flag. It means the panel isn't fully bonded to the substrate, creating voids where moisture can accumulate – a perfect breeding ground for mold and mildew in Yuma's humid environment.
Common Adhesive Application Mistakes:
- Insufficient Coverage: Too little adhesive, or adhesive applied only in a few spots, can't properly secure the panel. It’s like trying to hold up a poster with a single strip of tape.
- Incorrect Adhesive Type: Not all adhesives are created equal! Using the wrong type for acrylic or for a specific substrate can lead to bonding failure, especially in a high-moisture area like a bathroom.
- Improper Curing: If the adhesive isn't given adequate time or conditions to cure, its bonding strength is severely compromised, no matter how good it is.
Sealing System Snafus: Gaps, Cracks, and Caulk Catastrophes
The sealing around your acrylic bath walls is more than just an aesthetic finish; it’s your primary defense against water intrusion. A perfectly installed acrylic wall system is only as good as its weakest seal. If you see gaps, even tiny ones, between the panels and the wall, or where panels meet each other, consider it a red flag. These aren’t just cosmetic blemishes; they're direct invitations for moisture to seep behind your beautiful new walls.
A common culprit in Yuma’s dry climate, which often leads to material expansion and contraction, is poorly applied caulk. Cracked, peeling, or disjointed caulk indicates a hurried or inexperienced installation. It means the caulk wasn't properly adhered, or the wrong type was used. Look for:
- Uneven caulk lines: Is it thick in one spot, thin in another? This suggests a rushed job.
- Discoloration or mold: Once water gets behind the caulk, it creates a breeding ground for mildew, especially in the consistent warmth of Yuma.
- Gaps where the caulk has pulled away from the wall or panel. These aren't just ugly; they're leaky.
Ignoring these signs of sealing failure can lead to significant problems down the road. Water infiltration can cause structural damage, mold growth, and eventually, require a complete redo. It’s far better to catch these "caulk catastrophes" early. A professional installation ensures a continuous, watertight seal that will protect your Yuma bathroom for years to come.
4. Misaligned Mania: Crooked Panels and Uneven Edges
You’re not inspecting a work of abstract art; you expect straight lines and seamless transitions in your bathroom. When it comes to acrylic bath walls, misalignment isn't just an eyesore; it's a structural weakness waiting to happen. Crooked panels and uneven edges are screaming indicators of a rushed or unskilled installation.
Think about it: panels that don't meet flush create tiny ledges. These aren't just visually annoying; they become easy collection points for grime, soap scum, and water. Over time, that pooled moisture can work its way behind the panels. And that's exactly where you *don't* want it, especially in the Yuma heat.
So, what should you look for? Run your hand along the seams. Do you feel a noticeable lip or a sharp edge where two panels meet? Or perhaps you spot an acrylic panel that's visibly leaning or not perpendicular to the floor? These aren't minor imperfections; they're fundamental installation failures that can lead to bigger problems down the road. A quality installation means panels fit together with surgical precision, creating a smooth, monolithic surface that's easy to clean and built to last.
5. The Dreaded "Bubble" & "Blister" Breakdown: Trapped Air and Moisture Mayhem
There are few sights more disheartening than finding a bubble or a blister marring the smooth surface of your new acrylic bath walls. These aren't just minor imperfections; they're flashing red lights indicating a significant problem lurking beneath the surface. Typically, these issues stem from a couple of critical installation errors that compromise the longevity and aesthetic of your acrylic.
Bubbles, often appearing as raised pockets, are usually a tell-tale sign of trapped air during the application process. This happens when the adhesive isn't spread evenly or enough pressure isn't applied to fully bond the acrylic panel to the substrate. As temperatures fluctuate, especially in Yuma's intense heat, this trapped air expands and contracts, causing the acrylic to lift and bubble. It’s like a cheap screen protector on your phone – eventually, those air pockets show.
Blisters, on the other hand, are often indicative of moisture infiltration. If the seams aren't properly sealed or if there's a tiny breach in the substrate behind the acrylic, water can seep in. Once moisture gets trapped, it has nowhere to go. Coupled with the heat, this can lead to unsightly blisters that can eventually crack, creating an even bigger headache and potentially leading to mold or mildew growth behind your beautiful new walls. It’s a slow-motion disaster waiting to happen.
Yuma Restoration Case Study: Rectifying a Botched Acrylic Install
We recently tackled a job right here in Yuma that perfectly illustrates the impact of a bad acrylic bath wall install. A homeowner in the Foothills had invested in a "DIY special" contractor who promised a quick, cheap fix for their outdated bathroom. The acrylic panels looked decent for about six months.
Then, the cracks started. Not subtle hairline fractures, but obvious, spiderweb patterns radiating from the faucet area. Upon inspection, it was clear that the surface preparation was practically non-existent. The old tile was never properly cleaned or leveled, creating an uneven foundation. Instead of proper adhesive application, it looked like they just slapped on some construction adhesive in random blobs, leading to severe lack of adhesion in critical areas.
Our team had to completely remove the existing, failing acrylic panels, which revealed significant mold growth behind them due to inadequate sealing. This is a common consequence of corners being cut. We then meticulously:
- Removed every trace of the old adhesive and mold.
- Prepped the sub-wall, ensuring it was clean, dry, and perfectly level.
- Applied a high-performance, mold-resistant adhesive designed for Yuma’s specific climate variations.
- Installed new, high-quality acrylic panels with precision, ensuring every seam was perfectly aligned.
- Finished with a professional-grade, waterproof sealant, backed by our warranty.
Final Words: Ensuring Your Acrylic Walls Last in the Yuma Heat
Getting your acrylic bath walls installed correctly the first time is crucial, especially with Yuma's intense heat. You don't want to deal with peeling panels or bubbling surfaces when the summer sun is already pushing limits. The long-term success of your remodel hinges deeply on the quality of the installation.
When you're looking for a contractor, don't just go for the cheapest bid. Look for a team that has a proven track record in Yuma, understands the unique challenges our climate presents, and can demonstrate a commitment to proper surface preparation and sealing techniques. Ask for references and scrutinize their previous work. A bathroom remodel is an investment, and you deserve one that lasts.
Ultimately, a high-quality acrylic bath wall install means getting it right from the very beginning. From meticulous surface prep to ensuring every seam is perfectly sealed, these details are non-negotiable. Don't compromise on expertise, and you'll enjoy a beautiful, durable bathroom for years to come, no matter how hot it gets outside.
People Also Ask
What are the most common signs of a bad acrylic bath wall installation?
The most common signs include visible gaps or cracks in seams, panels that are not level or aligned, soft spots or bubbles under the surface, and mold or mildew growth appearing prematurely. These issues often stem from poor surface preparation or improper adhesive application.Can a botched acrylic bath wall installation lead to water damage?
Absolutely. A poor install with compromised seals or gaps allows water to seep behind the acrylic panels, leading to significant water damage to the sub-walls, flooring, and even structural components. This can result in costly repairs beyond just fixing the acrylic.How long should a properly installed acrylic bath wall last in Yuma's climate?
A correctly installed acrylic bath wall, using quality materials and proper techniques, should last 10-20 years or even longer, even in Yuma's intense heat. Longevity depends heavily on professional installation and regular, appropriate cleaning.Is it possible to repair a badly installed acrylic bath wall, or does it always need replacement?
Minor issues like small caulk failures might be repairable. However, widespread problems like trapped moisture, widespread bubbling, or significant misalignments usually necessitate a full replacement to ensure the underlying structure is sound and to prevent future damage.The Yuma Bathroom Remodel team brings years of dedicated experience to transforming local bathrooms. They specialize in crafting functional and beautiful spaces tailored to Yuma homeowners' needs. With an in-depth understanding of regional styles and preferences, they ensure a smooth and satisfying remodel experience.
Need Bathroom Remodel?
We restore your home’s essential systems quickly and reliably, minimizing downtime and hassle. Serving Yuma and surrounding ZIPs (85364, 85365, 85350, 85341) with prompt, professional service.
Request Remodel Quote